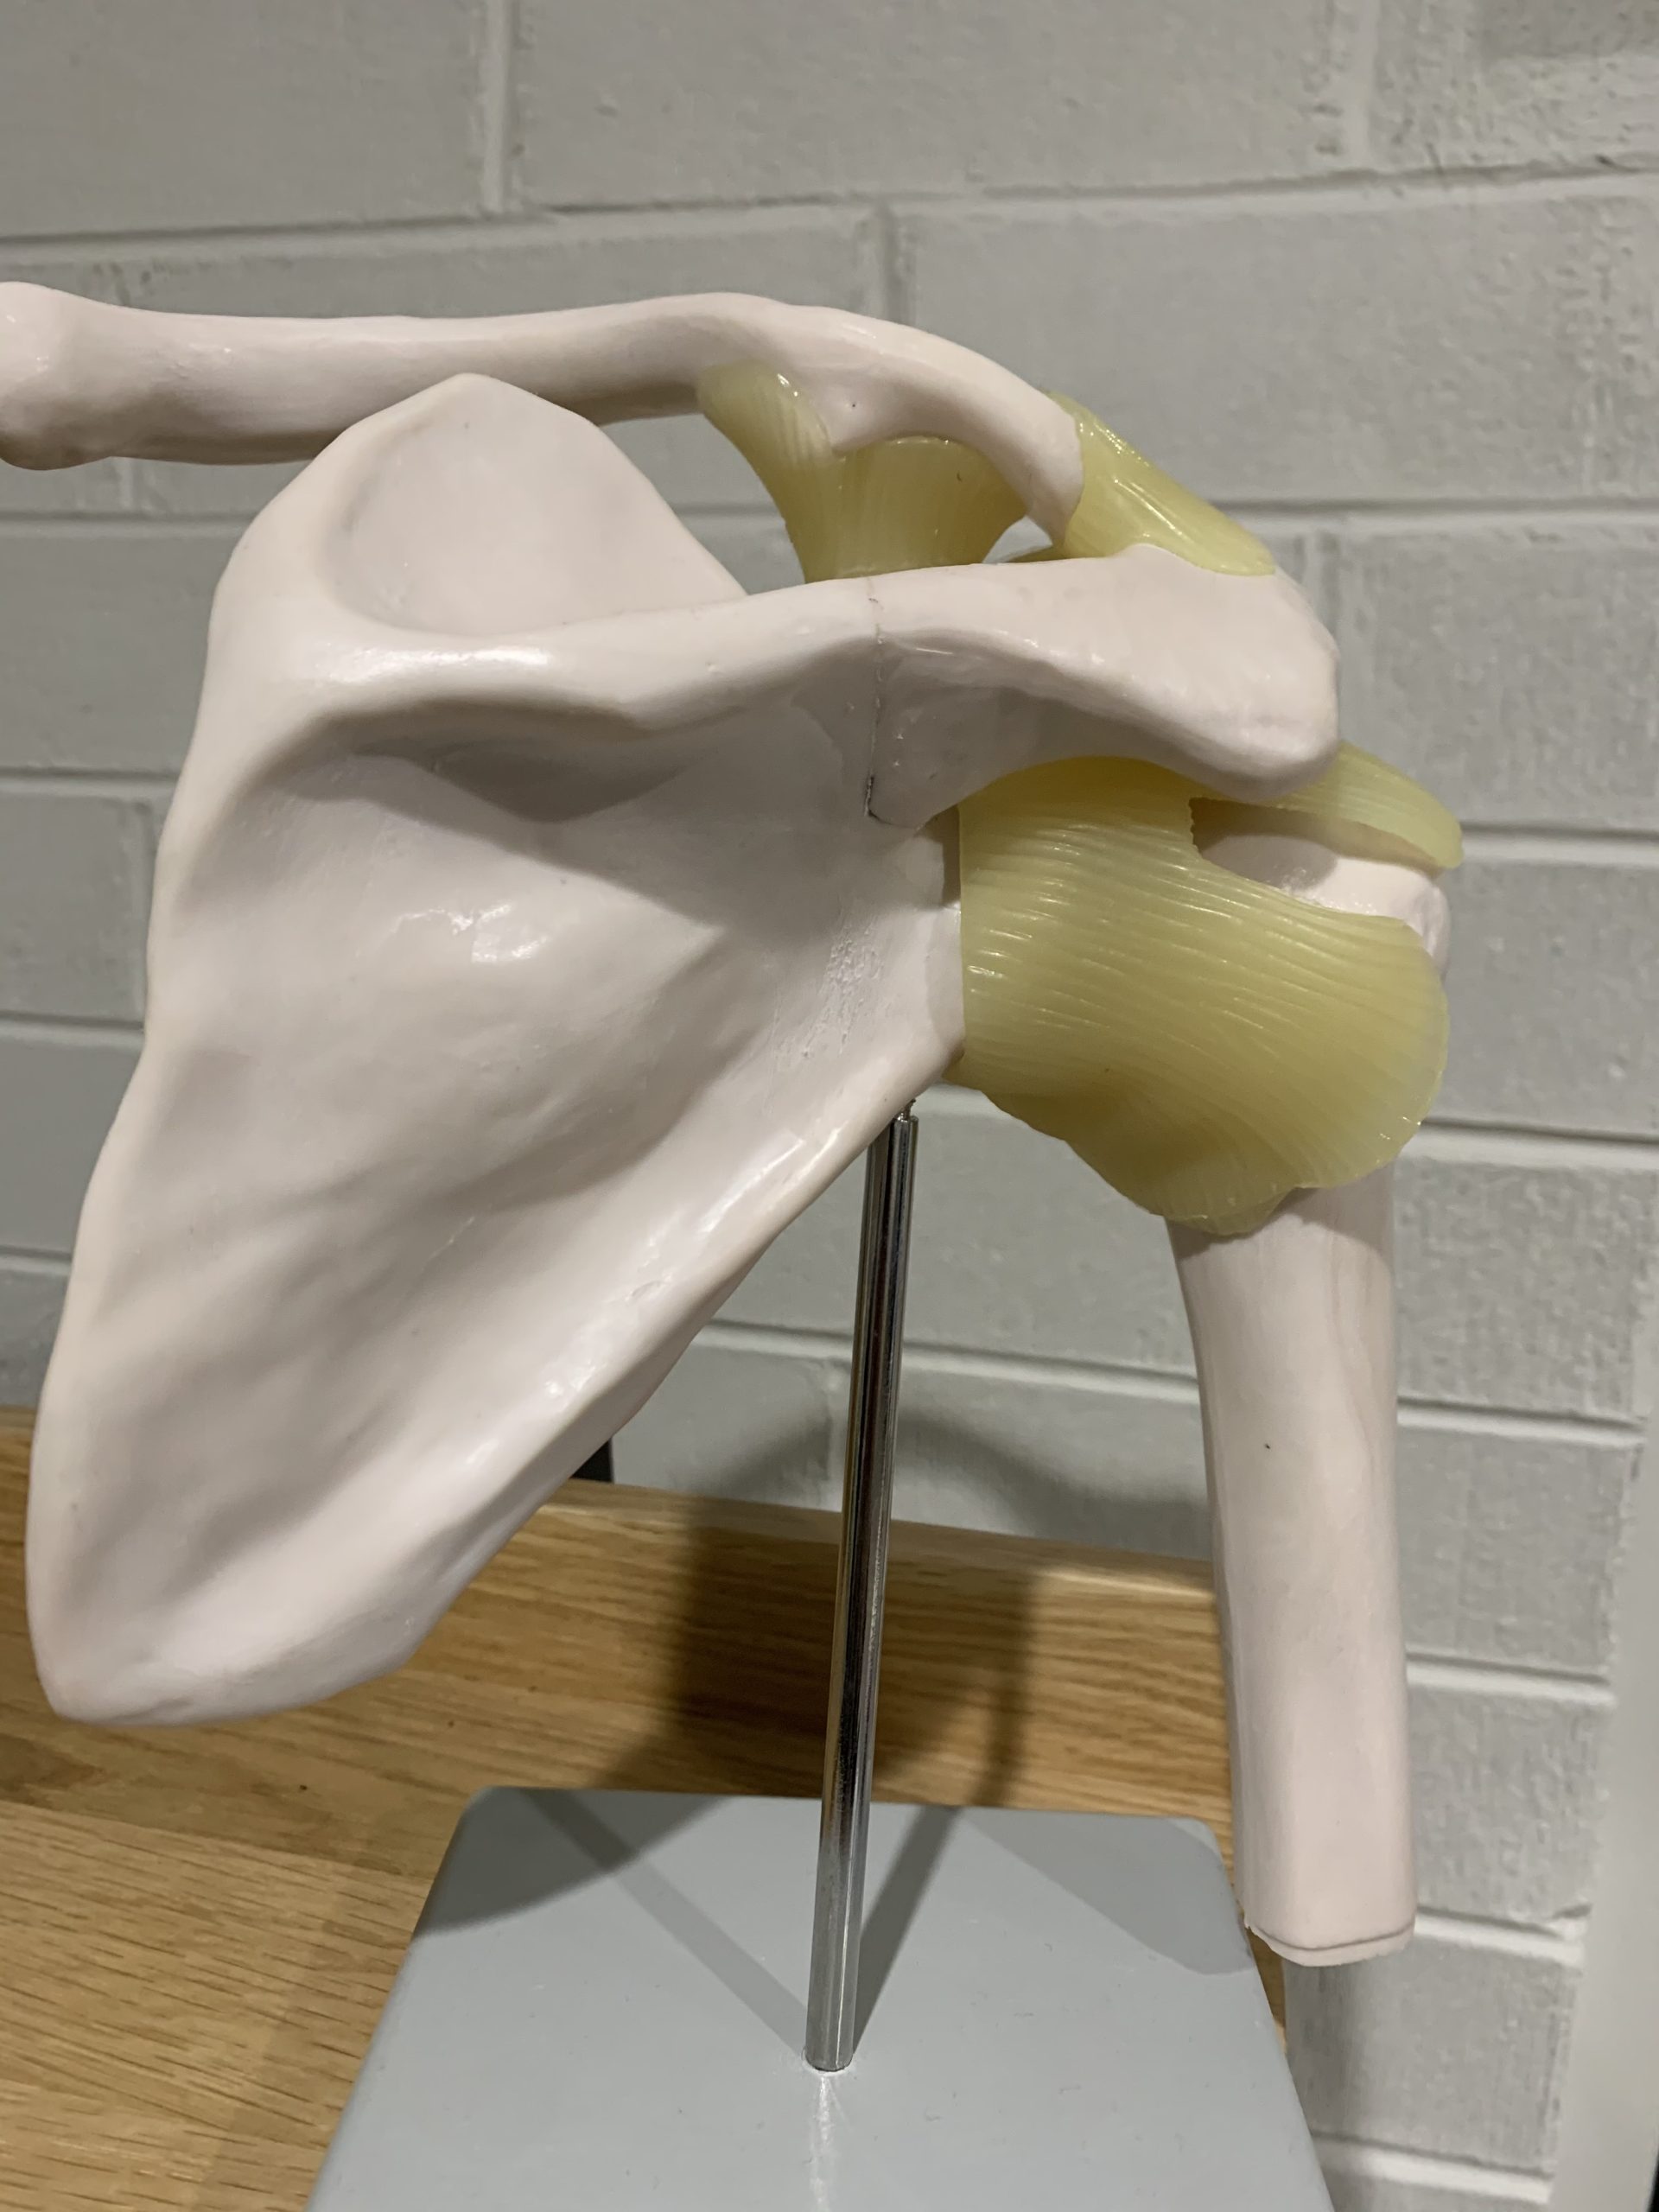
The shoulder is an extremely complex joint, but it is probably my favourite joint to talk about! It is a ball and socket joint, however unlike the other main ball and socket joint of the body (the hip) the socket of the glenohumeral joint (GHJ aka shoulder) is very shallow and is held together purely by ligaments and capsular tissue. When talking about the hip, if all the structures surrounding the joint were taken away (ie remove all ligaments and tendons) then the hip would still hold together by its encapsulated structure. When we look at the shoulder however, if everything was removed then the arm would drop off the side of the body. Ouch!
On a positive note, this structure gives the shoulder great freedom of motion. Think of how the hip is limited in its range, whereas the shoulder enables us to move our arms in greater ranges of motion than our thigh/femur bone. This is great for mobility! But the problem with shoulders is that the structure can change ever so slightly, and this places more strain on the shoulder when we exercise. Some exercises performed in the gym require you to move the shoulder into large ranges of motion, what we sometimes call impingement positions. Think of it like this, if only move your shoulder in small ranges of motion day to day, and then in the gym you ask it to move further past those points, irritation and aggravation of the tendons can occur.
This doesn’t mean we shouldn’t move the shoulder! Just that we need to prepare it for training. By getting it ready for overhead movement means we are less likely to find those repetitive strain impingement like positions, and therefore end up in less trouble afterwards, which means not having to have a break from training because “my shoulder is too sore”.
We want to ensure that the shoulder and the thoracic spine are in an alignment which allows you to move the shoulder freely and without impingement. If say we have poor posture, which in turn rolls our shoulders forward and our scapula (the wings on our back) follow to compensate for this movement, when we take our arms overhead we can cause an impingement. Try this for me – wherever you are now I want you to slump forward. Think of the worse desk posture you could imagine. While staying slumped, take your arms out to the side and move them up and above your head. The shoulders get quite stuck dont they! Now try this. Sit up straight and align your head so that it is on top of your spine. Gently (dont force them) sit your shoulder blades back (make sure you dont arch your back to do this). Take a few deep breaths in and out here and feel your body finding that perfect alignment. Now take your arms above your head – can you feel the difference?
One of my favourite ways to prepare the shoulders for overhead movement is the wall slide. These can be done standing (or even seated for a greater challenge) and they will prepare your shoulders for overhead strength work.
– Stand against the wall with your back to the wall and your feet slightly in front of you. You should be touching the wall with your bottom, mid and upper back and your neck. If you are straining in this position you need to work on your posture! Thats another blog post entirely!
– Have your arms by your side with the backs of your hands touching the wall, arms straight to start
– Slide your arms out to the side and as far as you can go without changing your back position. If your mobility is poor then your body will want to arch your back in order to get your arms above your head (NB – if you do any sort of shoulder presses in the gym and your back does this think of the strain you are putting on your back with each movement!)
– Repeat 10-15 times each day and prior to lifting overhead
– If you find this one easy then do it with your elbows at 90 degrees to start and slide your arms up the wall
– Doing this one seated against the wall will also make it a little more challenging.
Try these exercises, focus on your posture and alignment so that you aren’t causing irritation to your shoulder.
Leave a comment below to let me know how you went!


